The server is built upon NET8/ASP NET Core and uses Blazor to display the graphical user interface.
Windows: Starting the Server
On Windows, you can start the server via the Start Menu, where it can be found under the name “Parametric Robot Control Server”. Alternatively double-click the PRC.Server.exe in the install location, usually
%LOCALAPPDATA%/Parametric Robot Control/PRC.Server/.macOS: Starting the Server
On macOS, if you installed Parametric Robot Control via the DMG, the PRC.Server app can most likely be found in the Applications section of the Finder.
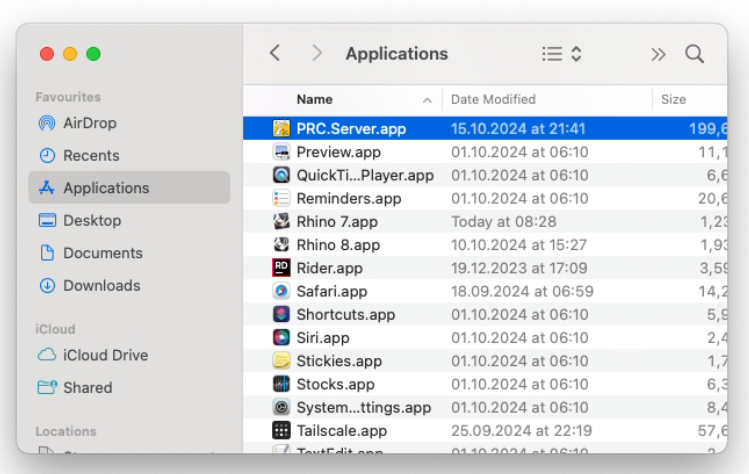
Note that currently the PRC.Server app will not display any console output, but just bounce around in the task bar.
macOS: Starting the server manually
Alternatively, on macOS you can start the server by opening a Terminal window of the PRC.Server folder by right-clicking it and selecting “New Terminal at Folder”.
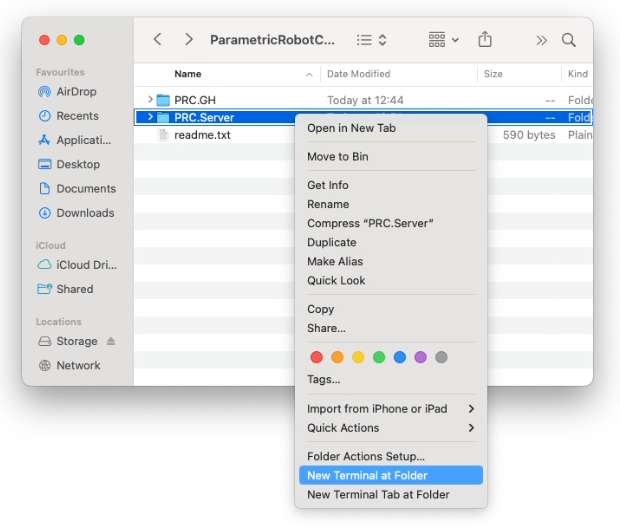
Then enter the following command to run the server:
bashdotnet PRC.Server.dll
If you get an error message, the .NET8 runtime might be missing, which includes the dotnet command.
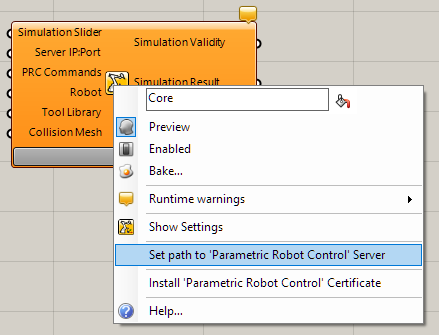
Starting the server: Via Grasshopper
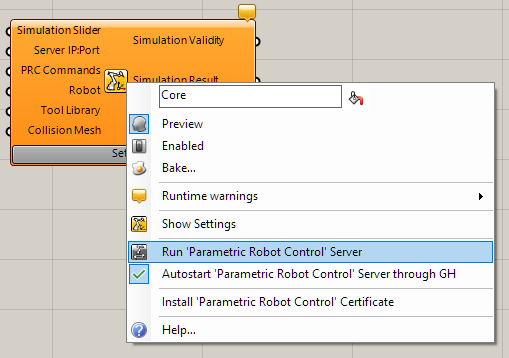
You can also right-click the Core component in Grasshopper. If the PRC.Server.exe is not in the default location, you need to set the path once.
On macOS, no separate Server window will pop up. Instead, the process will run in the background. You may need to use the Activity Monitor to find and quit the dotnet process. This behavior is not ideal, but due to constraints in macOS.
From the on, you can start the server via the right-click menu. On Windows you can enable auto-start, which will start the server once a PRC component has been added to the canvas. It will ensure that only one instance is running.
Console
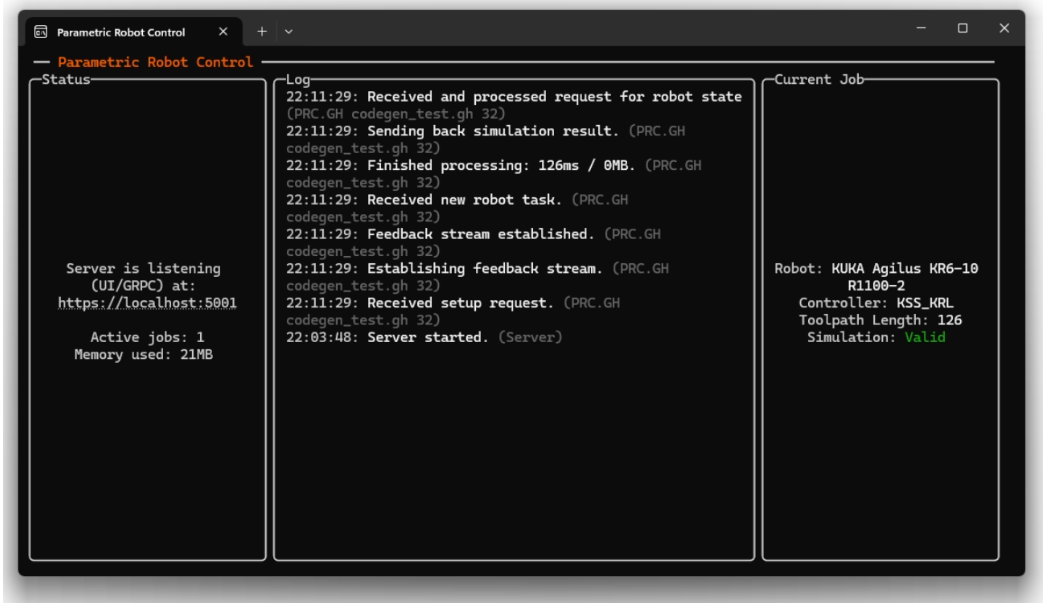
When starting the server, you will be greeted with a console window that visualizes the current proceedings within the server:
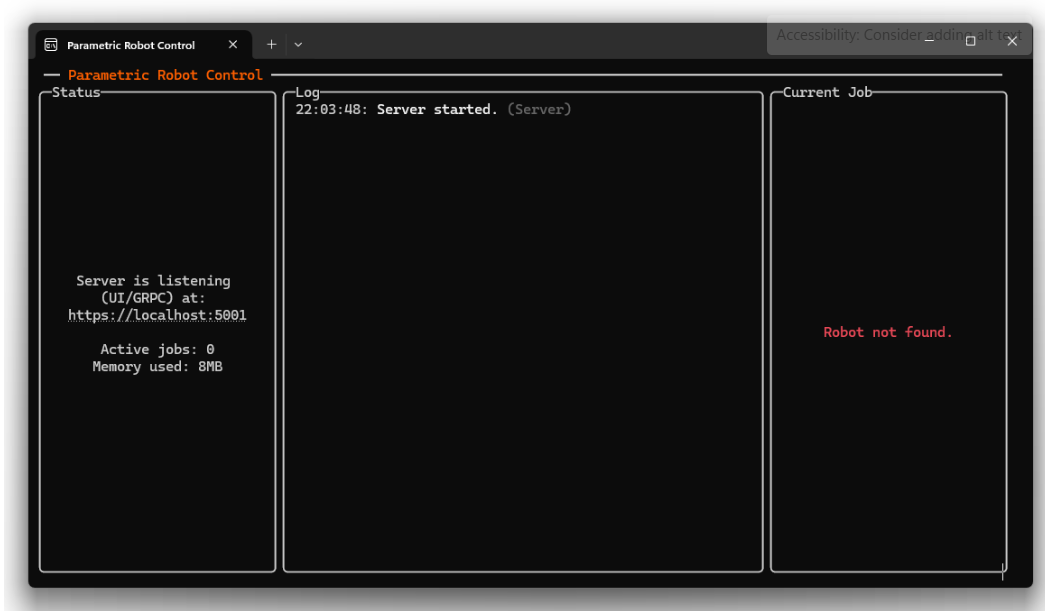

Note that when a client connects, there is no change of the console output. Only once a robot setup is defined, the console shows the previous, received remote procedure calls and provides some general information.

Note the URL of the user interface. The console may also point out that a necessary encryption certificate is missing. By default, the certificate is installed along with the software. However, you may have unticked the option or did not approve the relevant prompt. Refer to the Certificates section.
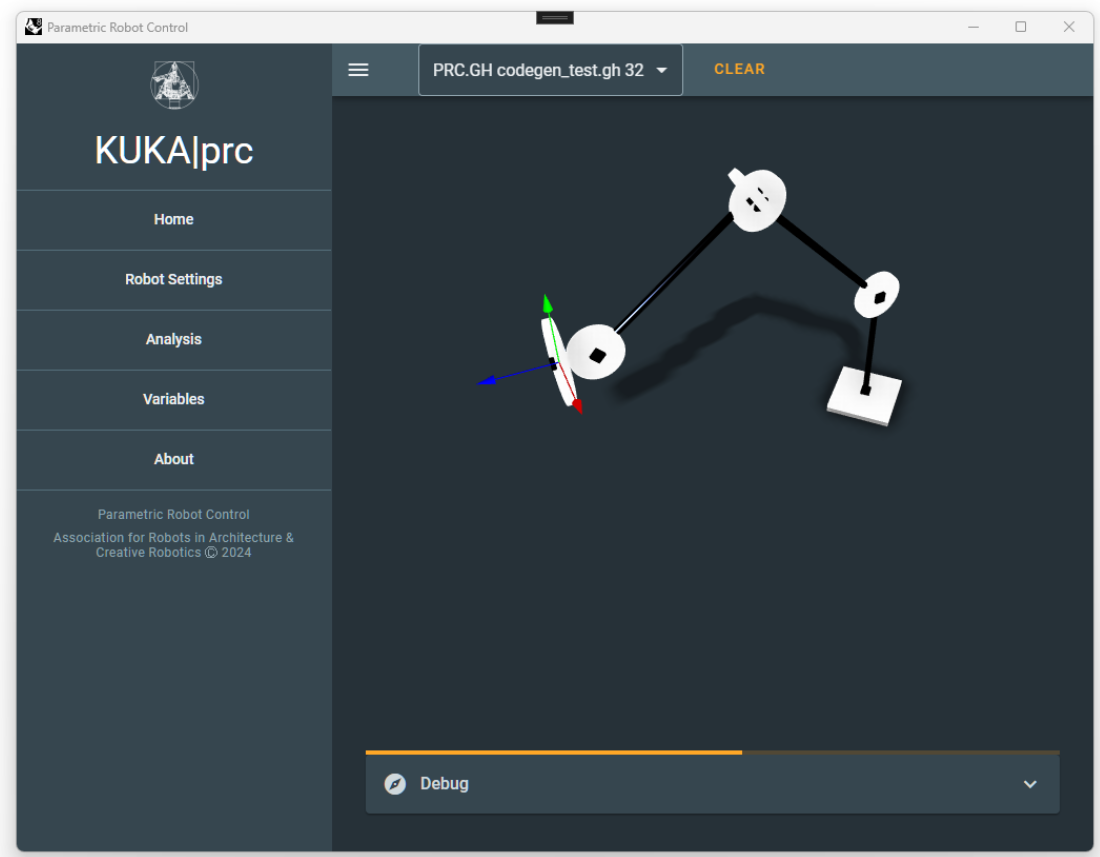
GUI
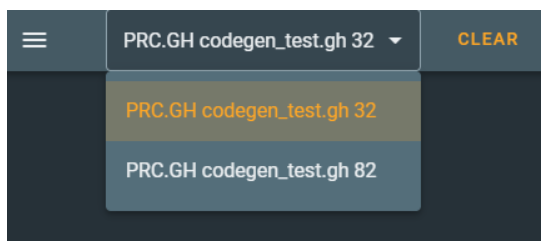
Type the address above in your browser to open the graphical user interface. On Windows, you can Crtl-click the link in the Terminal windows. Note the navigation bar on the left, the dropdown bar on top and the 3D visualization in the center. In the dropdown menu, you can switch between different connected robotic setups. The name of each setup is generally chosen by the client software, but can also manually be defined.


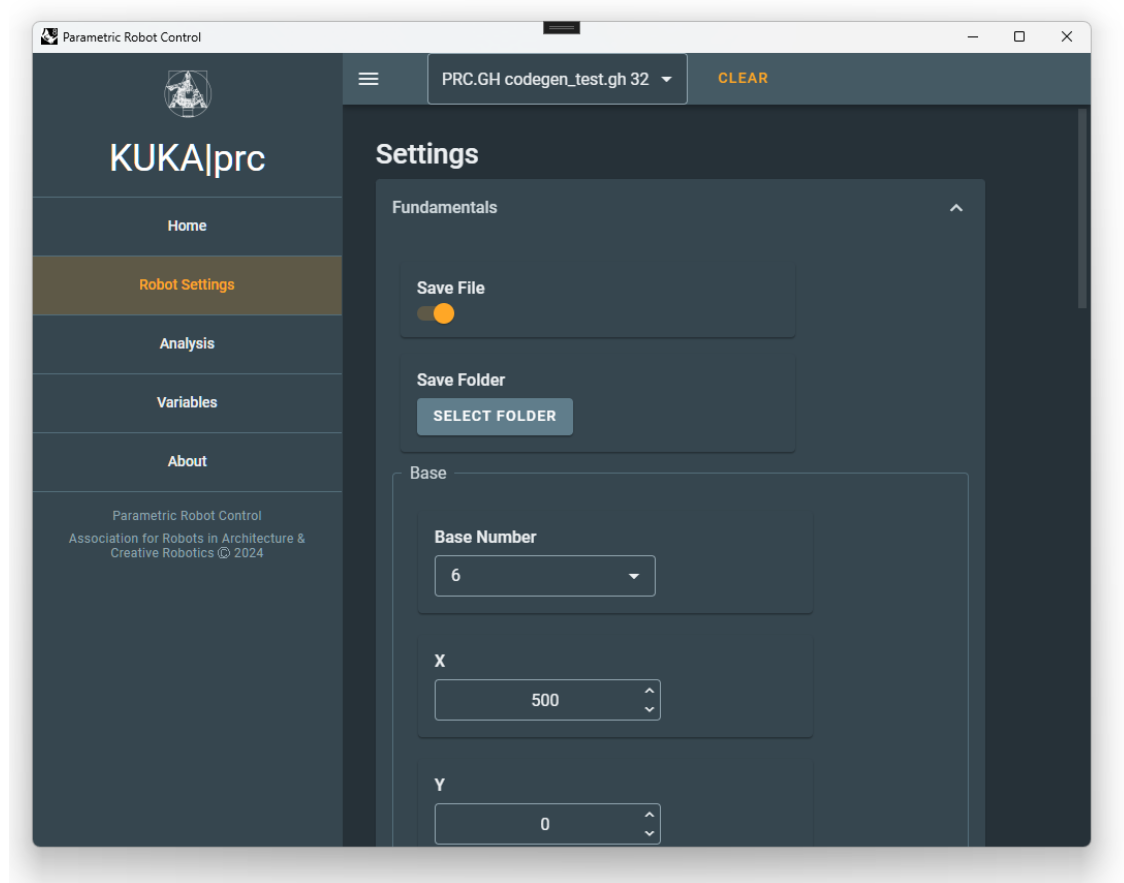
The Robot Settings are dynamically generated, so that e.g. the settings are different for a module generating KRL code and a real-time interface to the robot.

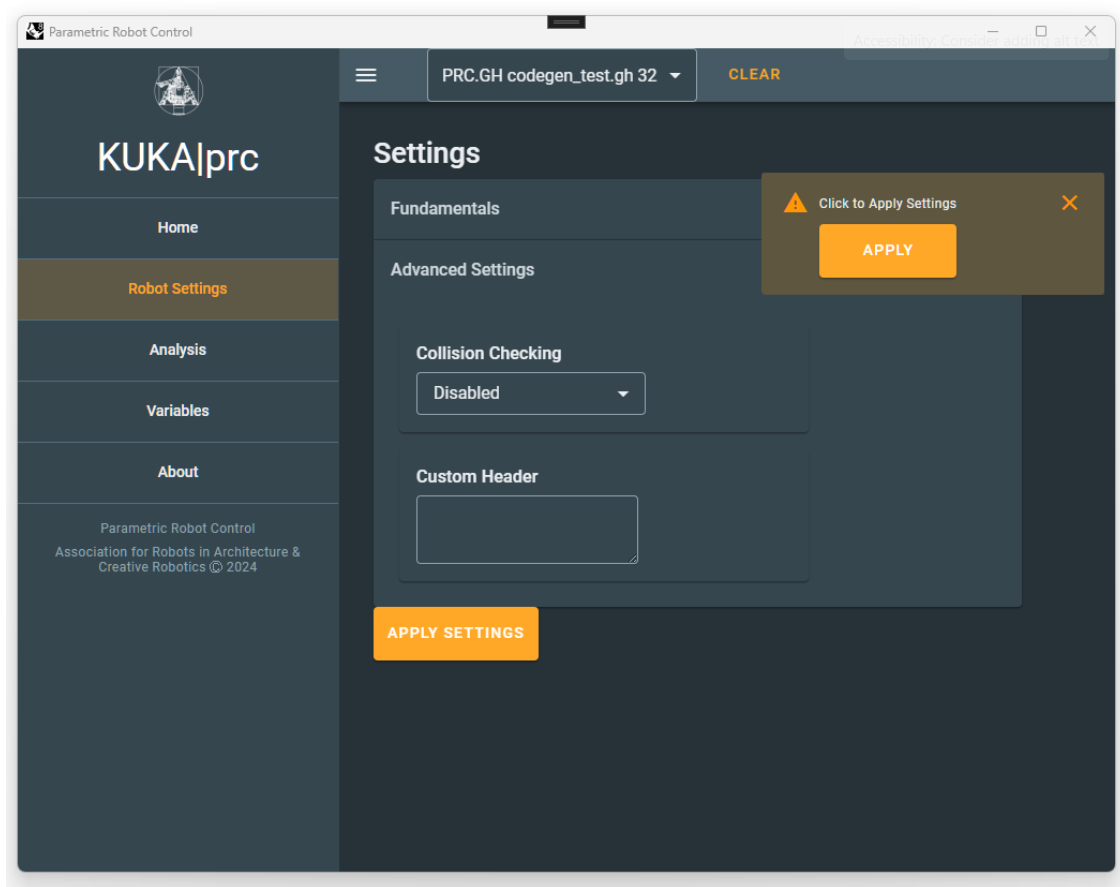
To confirm the settings, press the Apply Settings button either at the bottom of the interface or floating on top.

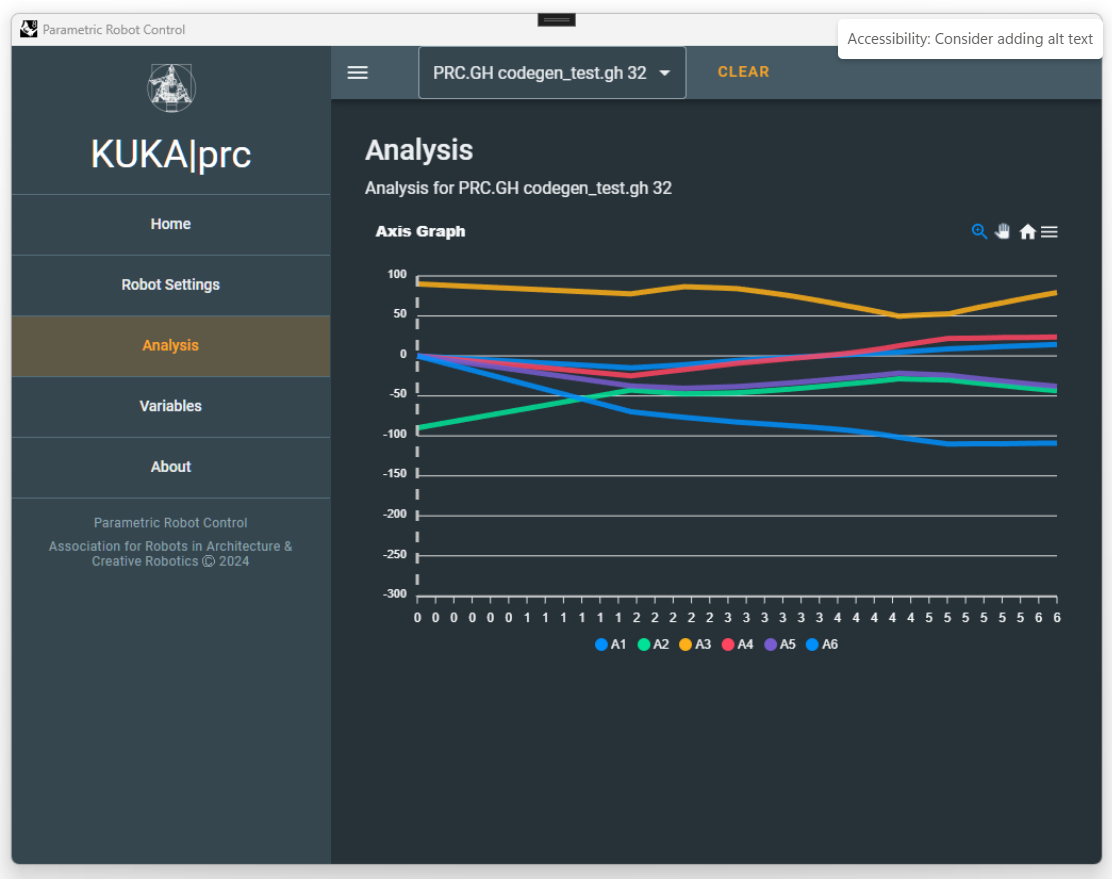
The Analysis view provides an axis graph of the robot's task.